Technology Tools
Learner Management System (LMS)
Click on the icon to learn more about Schoology's many features.
Schoology is our Learner Management System (LMS). Students can access materials, turn in assignments, engage in discussions, view agendas, and link to class websites all from this one place. Students will receive a code to join your class. Teachers can also join groups, like our Frosh PLT, and share handouts, assignments, and tests and add resources to their own classes with the click of a button.
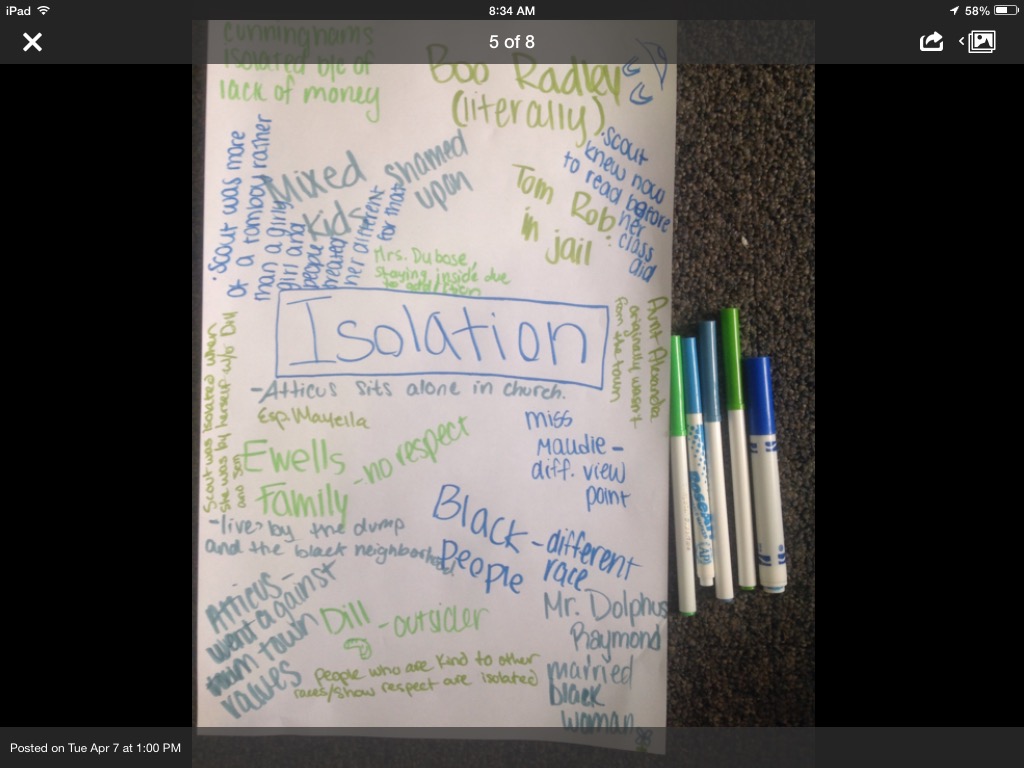
Click on the video below to learn how to use Shared Discussions with your classes.Using the Media Album in SchoologyThe Media Album allows students to upload photos and videos and add captions. You can use this in a variety of ways. One way I used this in class was as a way to post pictures of the final posters that students created over themes in To Kill a Mockingbird (see below). In small groups, students spent about 2 minutes at each theme poster, adding their ideas. Then, they would rotate to the next poster. The last group took a picture of the poster and uploaded it to the media album. Students then had easy access to all of their classmates ideas as they studied for the final test and completed the written analysis.
Digital Notebook
Click on the icon above to read more about Notability.
Training ToolUse the assignment below to learn how to use all the features of Notability. You can do it as a teacher and assign it to students as an introduction to this powerful app.
|
Hey students! Many of your teachers will require that you access this website (not the app--that is for teachers only!) to turn in your papers. It will check your paper against all papers turned in and against all work on the Internet. In other words, make sure your words are your OWN words and not copied from a friend or website, which is called plagiarism and will earn you a zero on your work and may result in other more severe consequences.
Teachers, you can easily grade papers on Turnitin.com (and grade offline using the app!), creating a bank of comments, creating individual comments, or even using voice comments. You can also create rubrics. I love this program! Creating Collaborative Presentations
When you want students to collaborate on a presentation simultaneously, wherever they may be located, they have two options on the iPad—Google Slides and the PowerPoint app. The biggest flaw right now with the technology is that student cannot easily enter pictures into a Google Slides presentation on their iPads. Here are some directions for navigating the programs:
Option One: 1. Create a Google Slides document. 2. Share with your partner/s by clicking on the person with the + in the upper right and adding their e-mail. Be sure to check "can edit." 3. Click on the pencil tool at the bottom right to work on the page. Option Two: 1. Download the PowerPoint app and open 2. Create a One Drive account (top left) if you have not 3. If you need to, save your Google Slides document (step 3 above) 4. If your document says it is "read only" click on "duplicate" 5. Click on the person with the + sign and send a copy/ open in the PowerPoint app 6. Share with your partner by clicking on the person with the + in the upper right and e-mailing them a link or attachment as "view and edit" iMovie for iPad
|
| Mrs. Ruckoldt |
|